I am not a huge user of Github, mainly because there is very little code I feel comfortable sharing with others. However, excuses are needed to try out new stuff, so I set up this blog on Github Pages.
Github Pages (GhP in short) is a fancy name for repositories marked for HTML hosting.
Even free accounts get one, so go ahead and create a new repository called username.github.io, replacing username with your Github username.
E.g. in my case my GhP repo is called dtsomp.github.io.
Just add an index.html, commit and push to it.
Congratulations, your new website is avaiable on https://username.github.io.
Now for the really interesting stuff.
I couldn't create decent-looking HTML pages to save my life and this is why I'm toying around with Pelican for generating my blog pages. I could use Pelican's (rather under-documented) publish functionality to push my content to GhP or just copy-paste the generated HTML files into my local copy of the repo and commit-push.
Or I could have Travis CI do this for me.
So here's the setup:
- a GhP repo for hosting the final HTML files.
- a Github token for commiting to this repo.
- a source repo which tracks the original Pelican project directory of the blog, containing source files, publishing configuration etc.
- Travis CI triggering builds after every push to the source repo and using the token to update the GhP repo.
The instructions below are in no way intended to serve as notes for my absent-minded self. No sir. Nuh-uh.
First step, create the repository for your blog's source code. Add all of your code, then add the following files at the root of the directory:
- requirements.txt, contains the Python modules required by Pelican for generating the HTML pages.
- .travis.yml, contains the steps that Travis needs to take.
- deploy.sh is the script called in the last step of
.travis.yml, it copies the generated HTML files to the GhP repo.
Important: make sure you update TARGET_REPO in deploy.sh.
Regarding the token, you can generate it in your Github's profile personal access tokens page. Click on "Generate new token", add a description (something like "blog-ci-token") and I would advise enabling only the following scopes:
- repo:status
- repo_deployment
- public_repo
Once it's generated, you'll get a long string, e.g. "73e3b4e29bd10e3af8f4c3b9cb0f949622f07e24". Copy it, you'll need it later on. (I should point out that this is a random string, not an actual token of mine :P)
Now go to https://travis-ci.com and hook it up to your Github account. The requirement here is that Travis is enabled for the repository that contains the blog source.
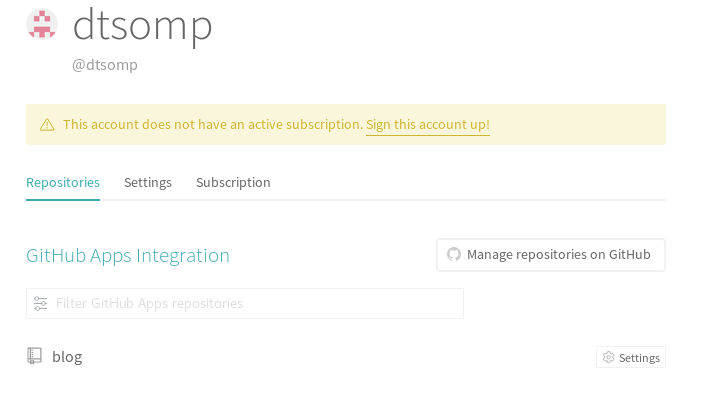
The repo will show up in your Travis CI profile. Hit the Settings button for it.

Scroll down to Enviromental Variables, add a new one named "GITHUB_TOKEN" and use the token string as value.
"Display value in build log" should OFF.
You could use a different name instead of GITHUB_TOKEN, just make sure that deploy.sh is updated accordingly.
At this point, you should be ready to go. Pushing to your source repo should trigger a Travis build, generate the HTML content and push it to your page repo.
That's it!
Sites where I stole content from References:
Comments !